

Ultima Online Event: The Rifted Crown
~ Publish 120 ~
The Rifted Crown Event Info
|
The Rifted Crown is a large multi-part event that encompasses many different elements. This article will serve as a guide for the entire event, except for the Treasures of the Riftborne component. The Treasures of the Riftborne component has it's own article that covers all information pertinent to that aspect.
Ends September 1st, 4AM Eastern
|
||||||||||||||||||||||||||||||||||||||||||||||||||||||||||||||||||||||||||||||||||||||||||||||||||||||||||||||||||||||||
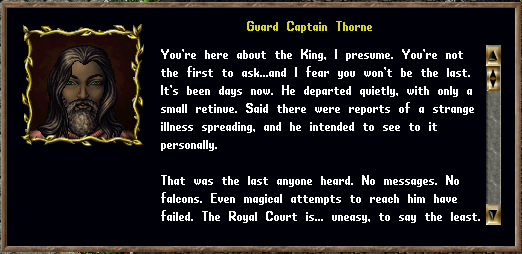
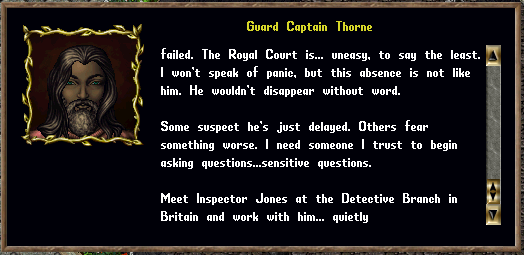
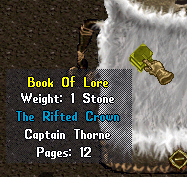
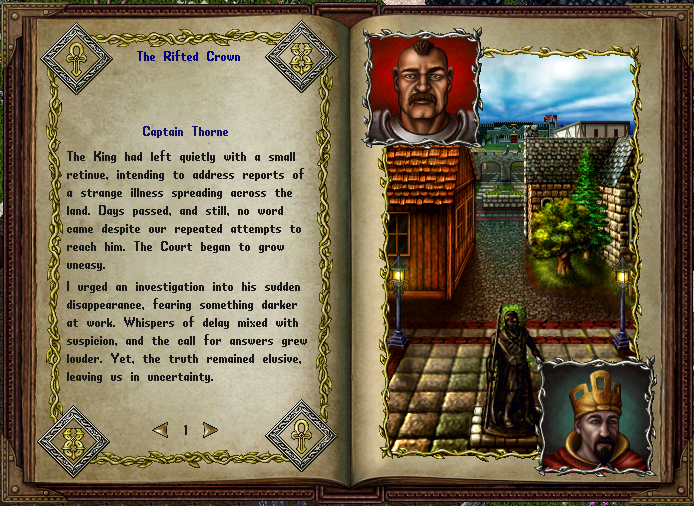
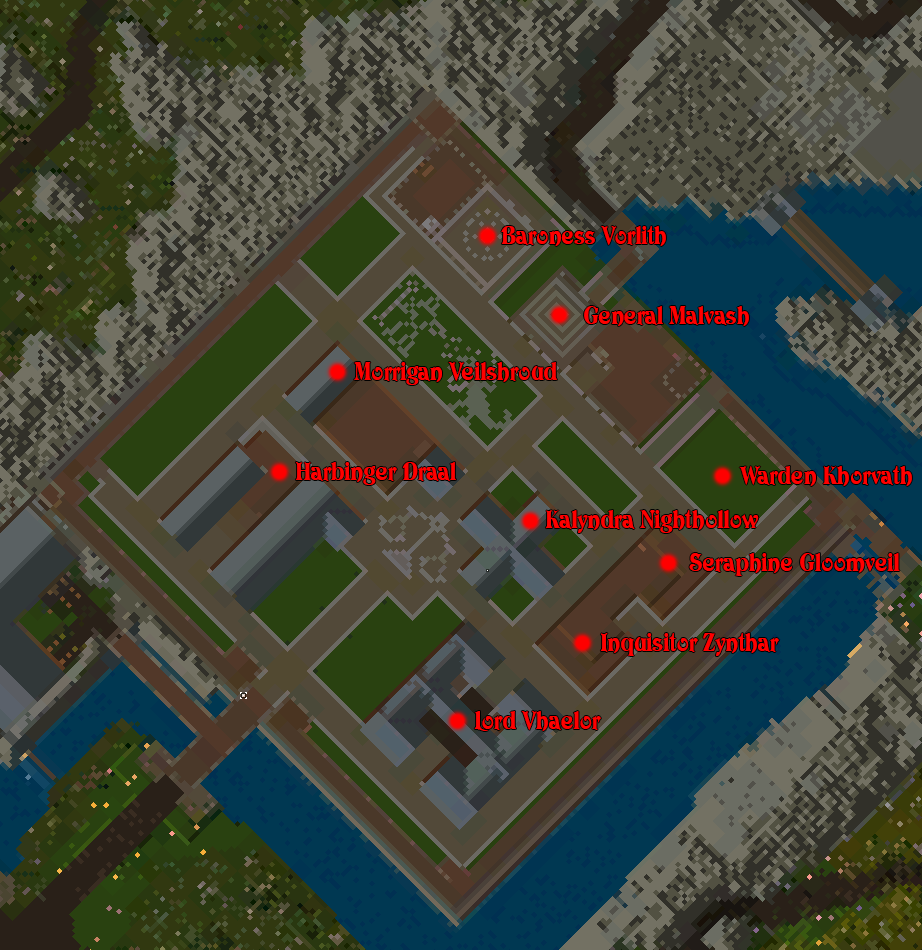
StoryThe story of The Rifted Crown begins with Guard Captain Thorne, who can be found at in the Castle Blackthorn Courtyard.
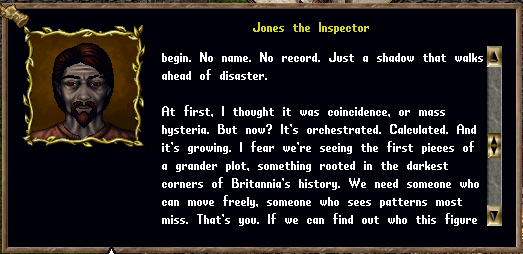
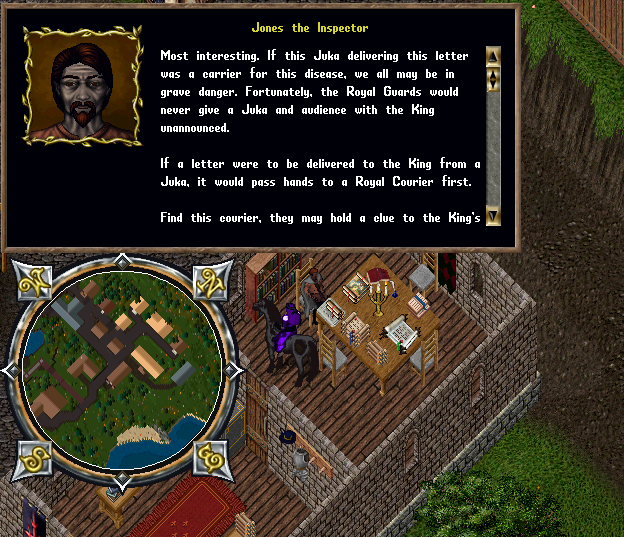
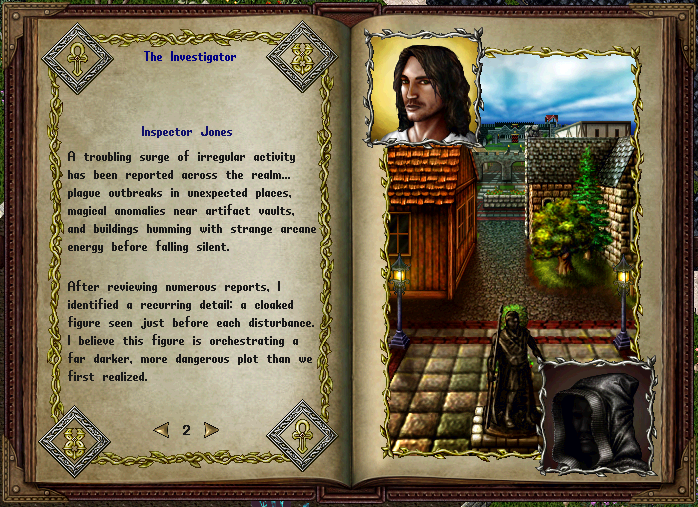
Guard Captain Thorne tells us to speak with Inspector Jones at the Britain Detective Branch:
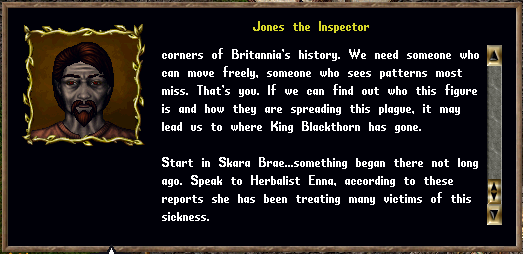
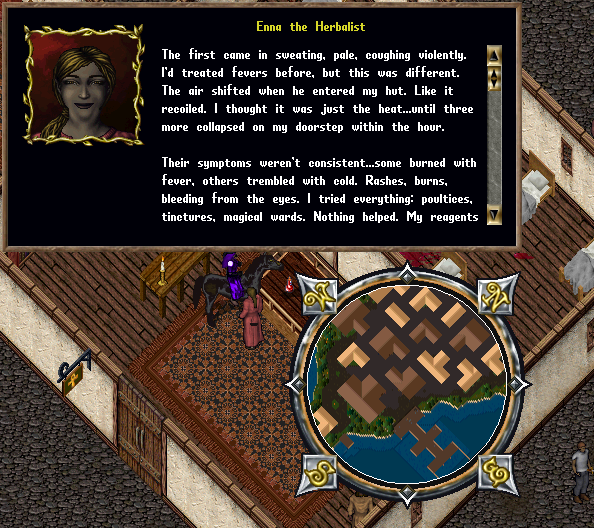
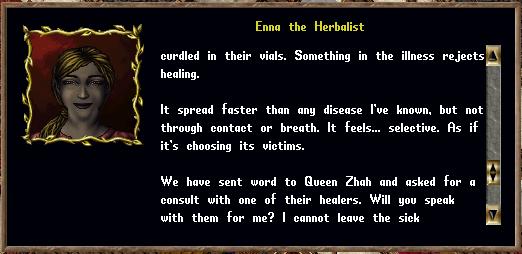
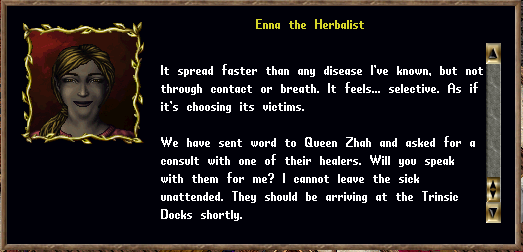
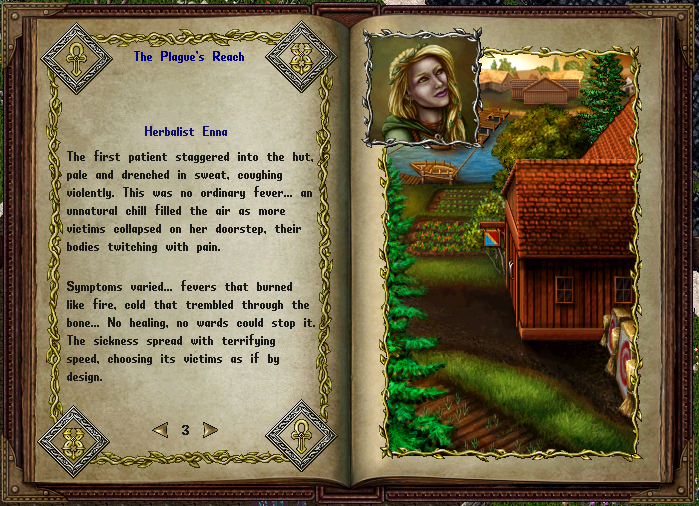
Jones asks us to head to Skara Brae and speak with Enna the Herbalist
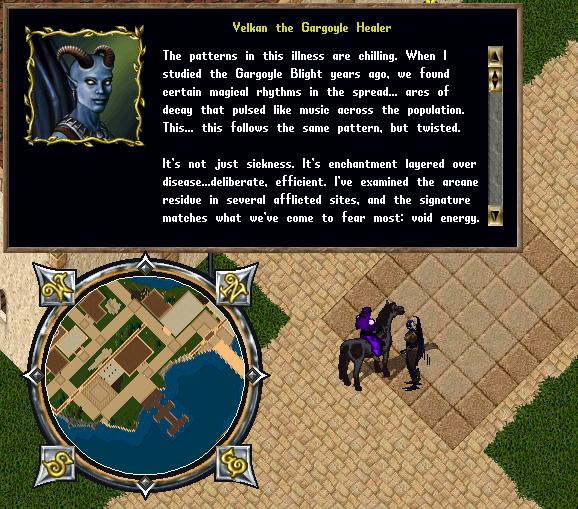
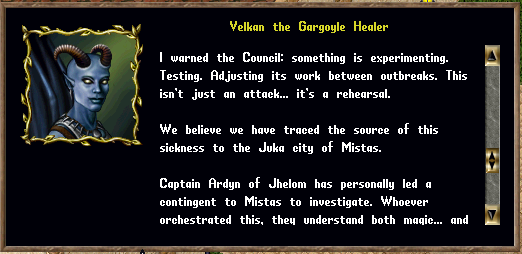
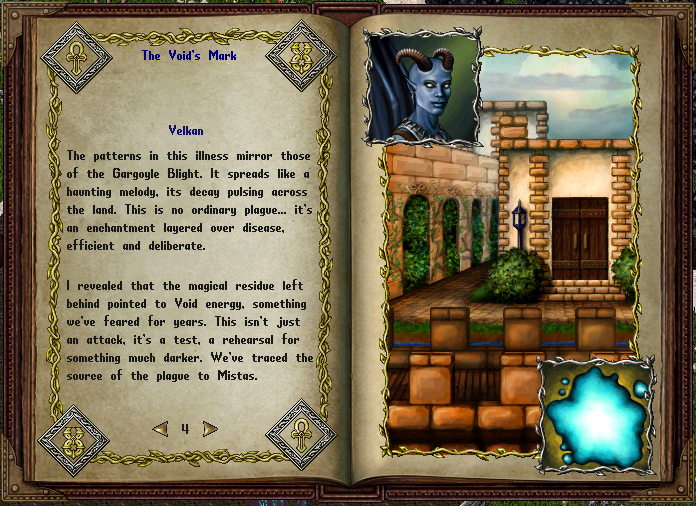
Enna asks us to meet a Gargoyle Healer sent from Ter Mur at the Trinsic Docks
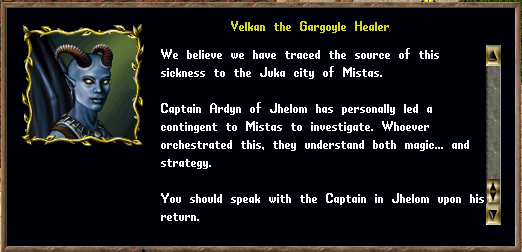
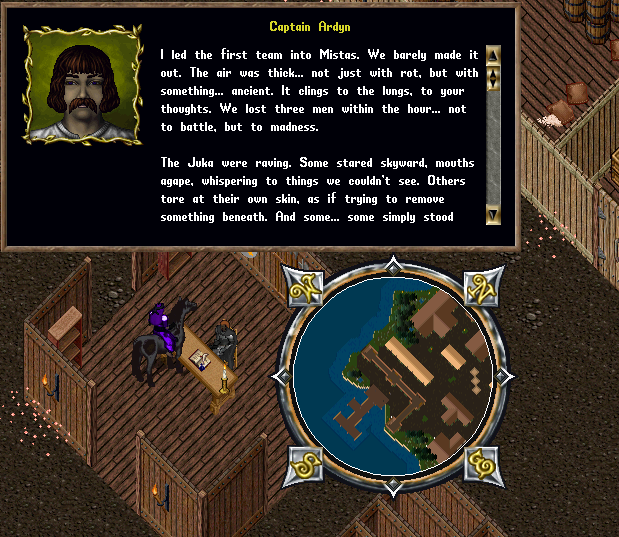
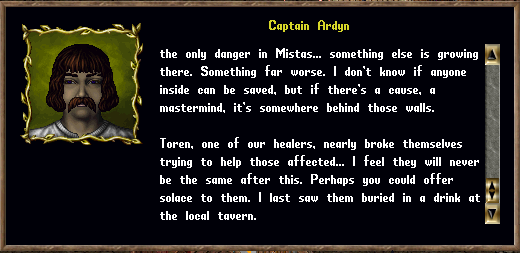
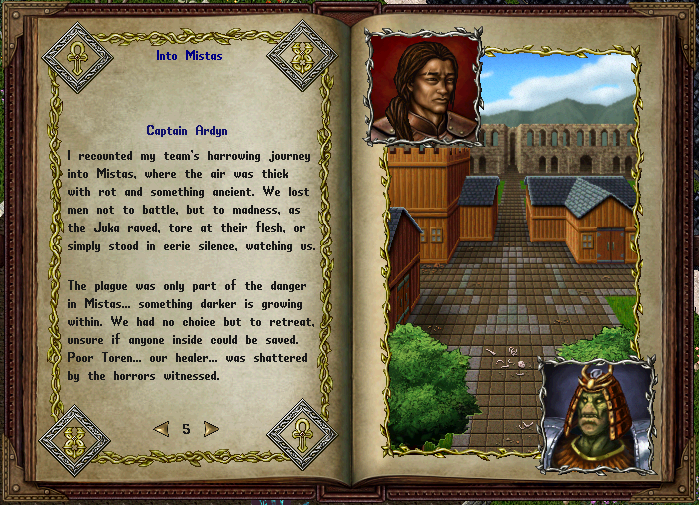
Velkan asks use to speak with Captain Ardyn in Jhelom:
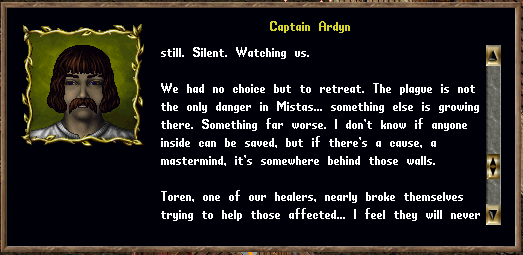
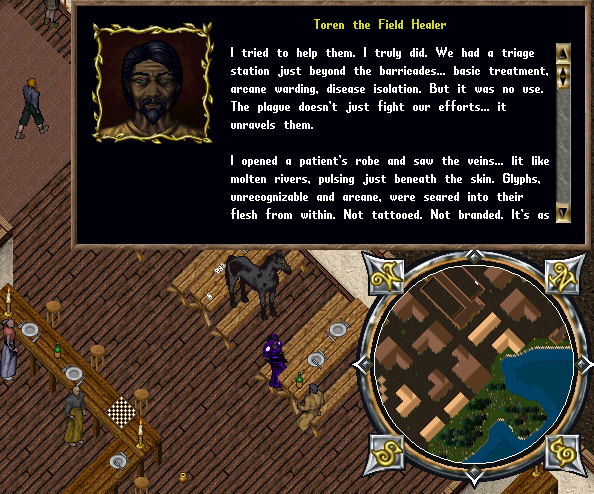
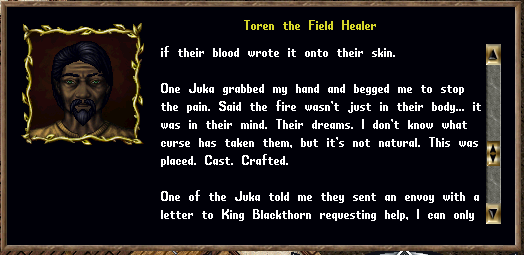
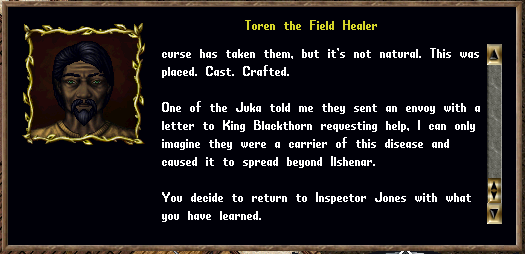
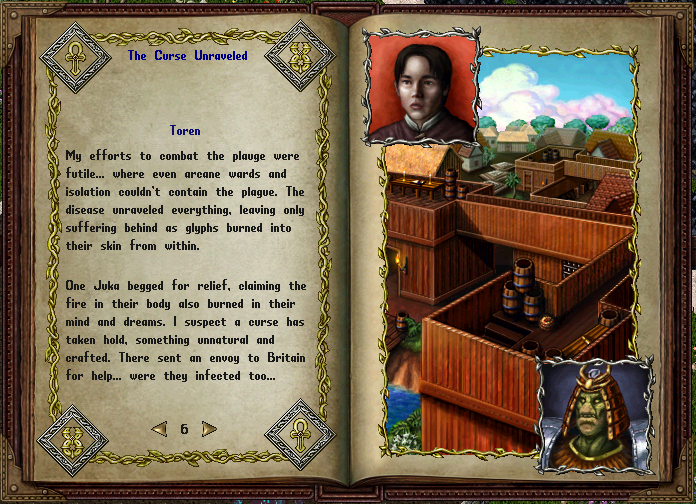
Captain Ardyn asks us to find Toren at the local tavern:
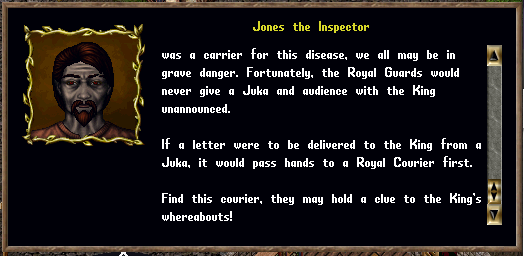
You decide to return to Inspector Jones with what you have learned:
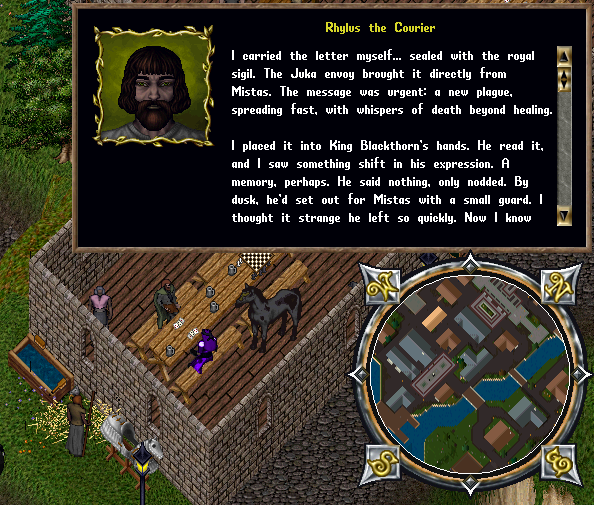
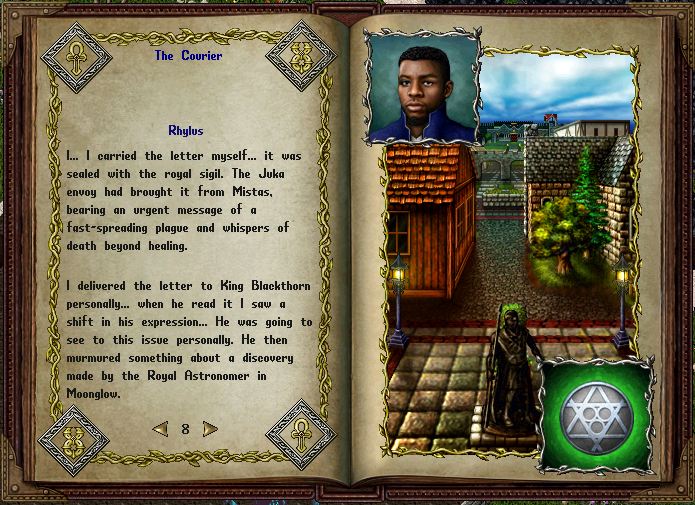
Inspector Jones tasks us with finding the Royal Courier that delivered the message:
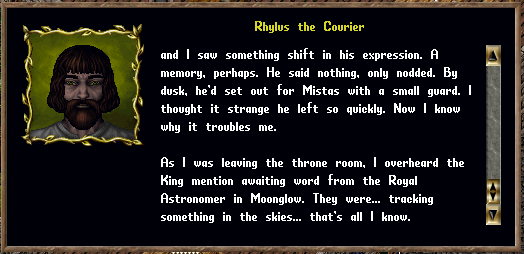
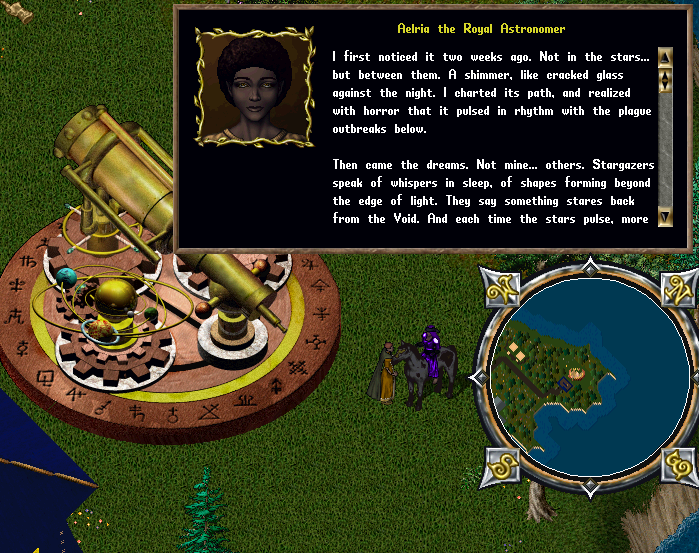
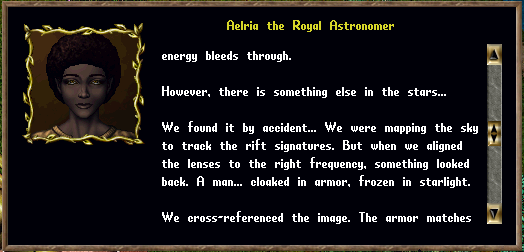
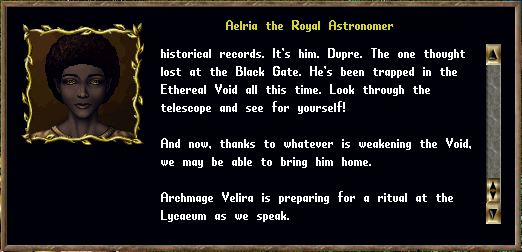
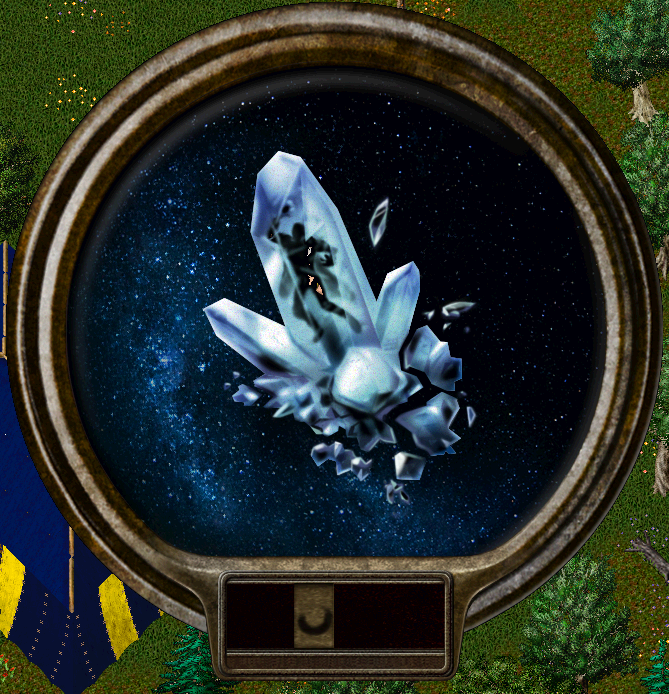
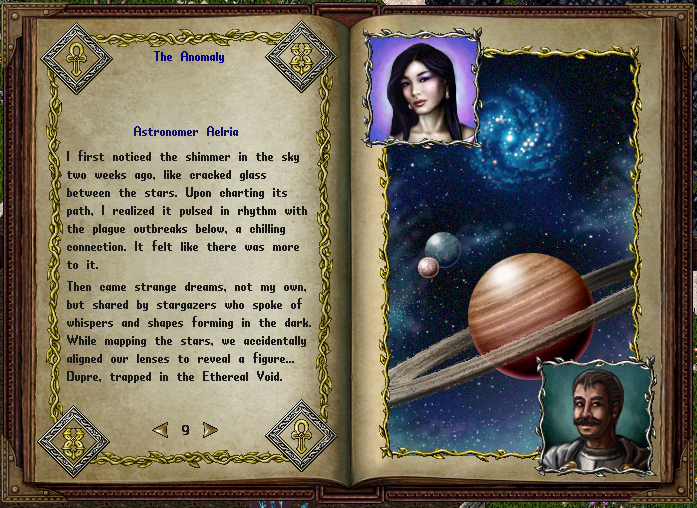
The last thing Rhylus heard was about awaiting word from the Royal Astronomer in Moonglow:
If you double-click the eyepiece of the telescope, you get a special scene:
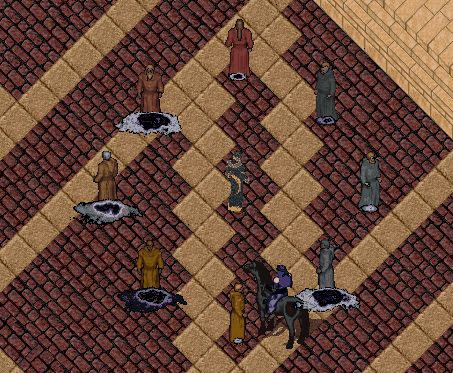
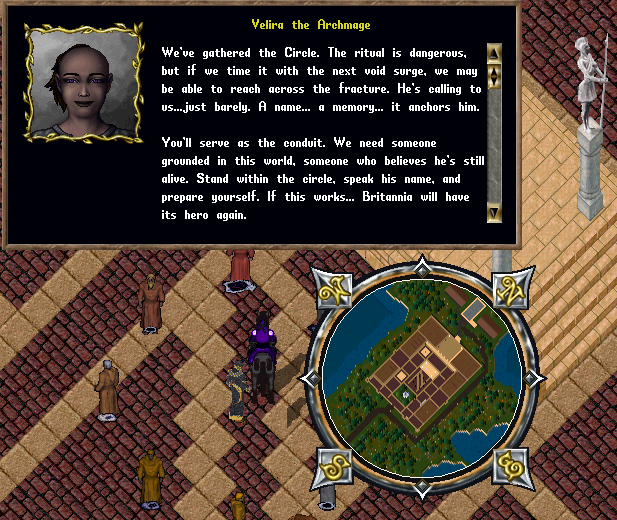
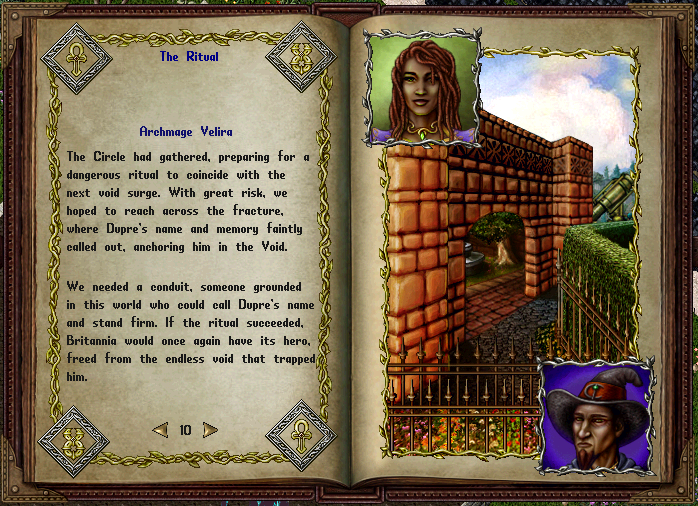
Aelria tells us to speak with Archmage Velira at the Lycaeum:
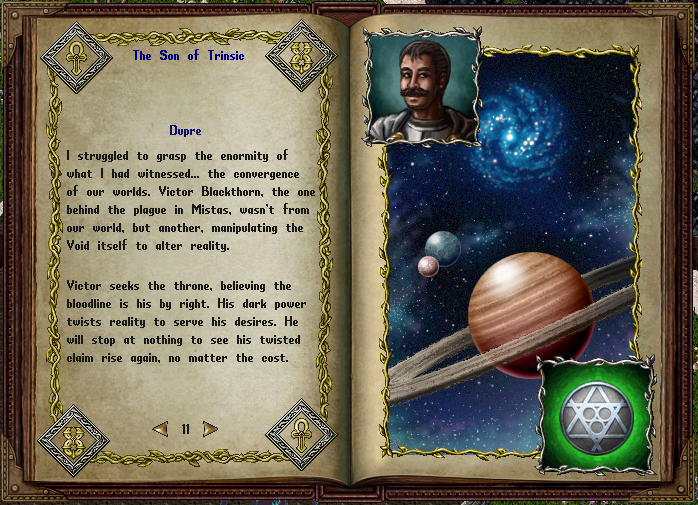
Standing in the circle of mages and saying "Dupre" teleports you:
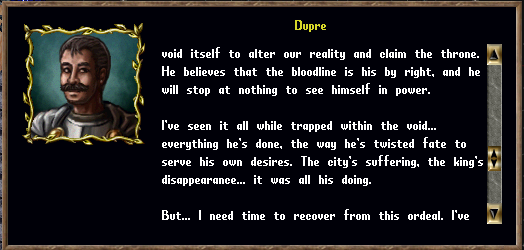
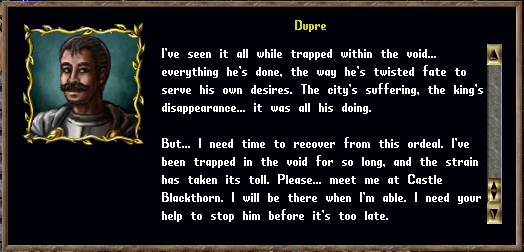
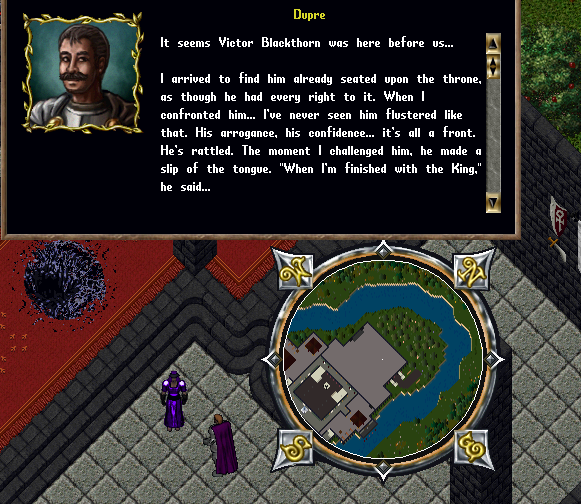
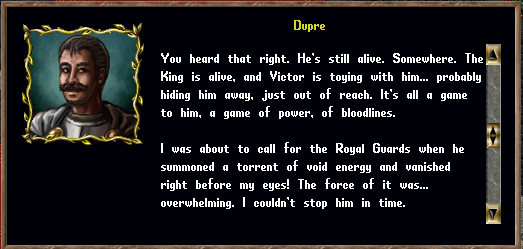
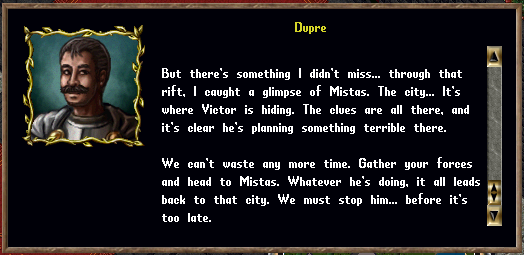
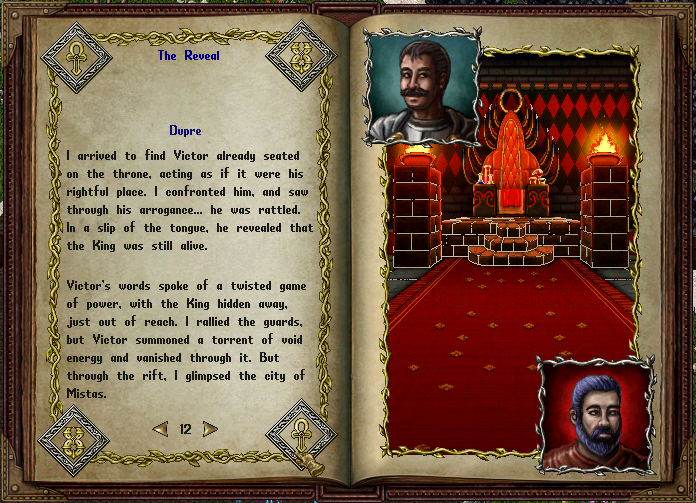
Dupre asks you to meet him in the Castle Blackthorn throne room:
You will be awarded pages of lore at every step of this quest chain as you speak to the NPCs. There are 12 pages in total.
|
||||||||||||||||||||||||||||||||||||||||||||||||||||||||||||||||||||||||||||||||||||||||||||||||||||||||||||||||||||||||
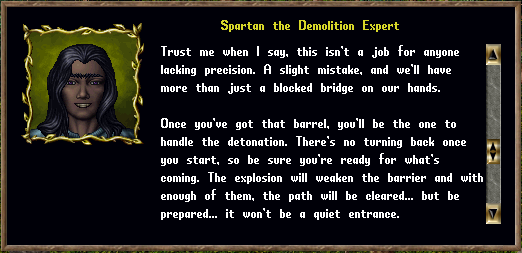
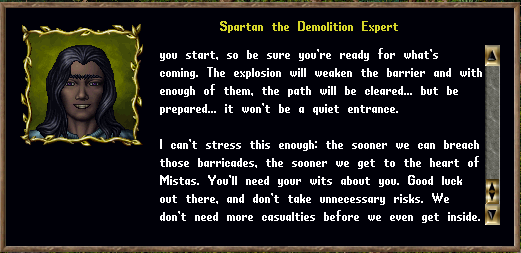
Event Phase 1~ The Siege of Mistas ~
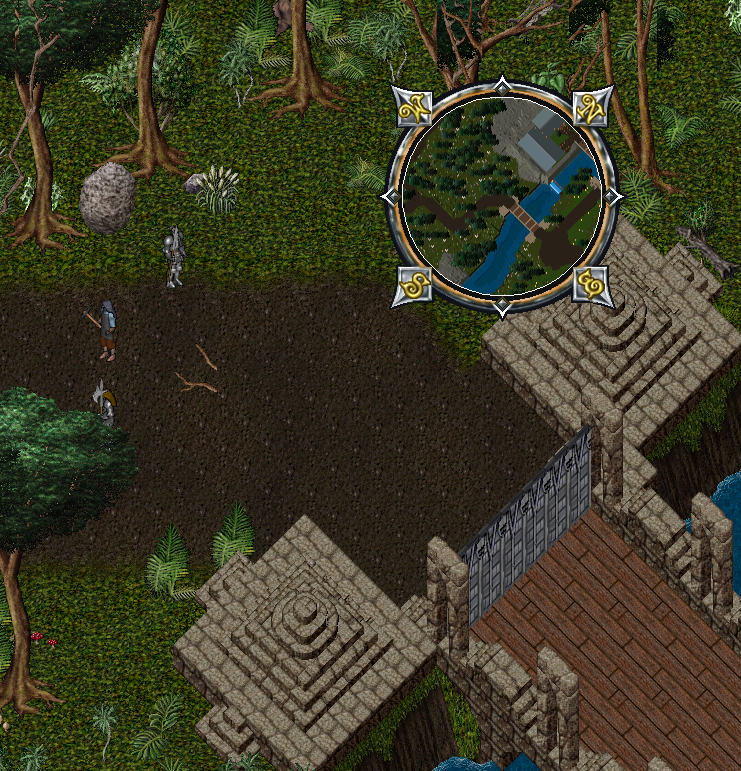
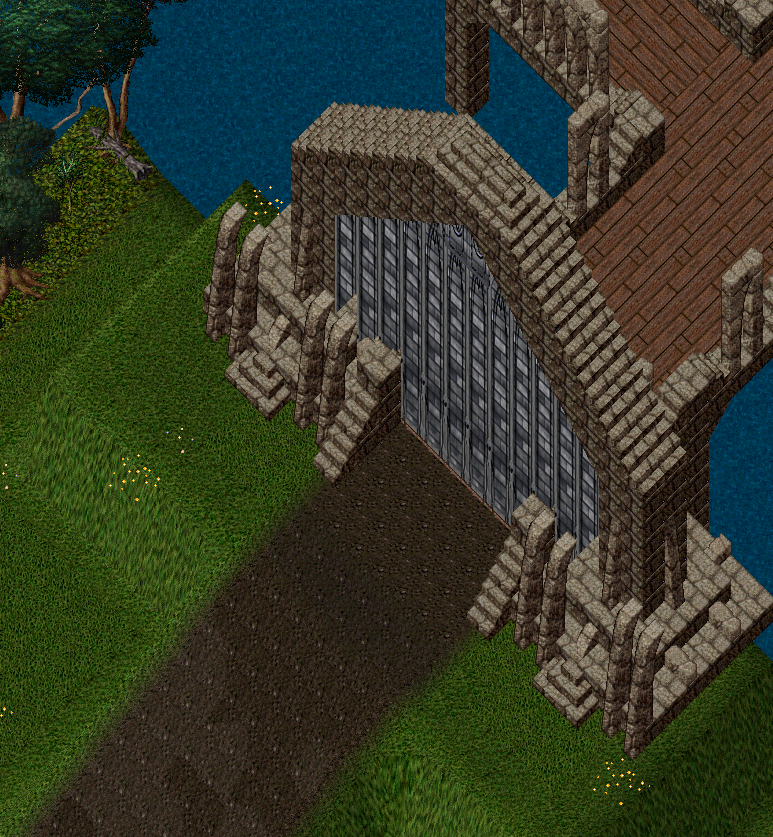
The story leads us to the gates of Mistas, which are barricaded. Luckily, there is an NPC nearby to help us out:
In order to breach the city, an Alchemist must craft a Barrel of Explosives:
Reinforced Barrel is a new craftable in the Carpentry menu:
Once you have the Barrel of Explosives crafted, you can double-click it to create a Pyroclastic Bomb:
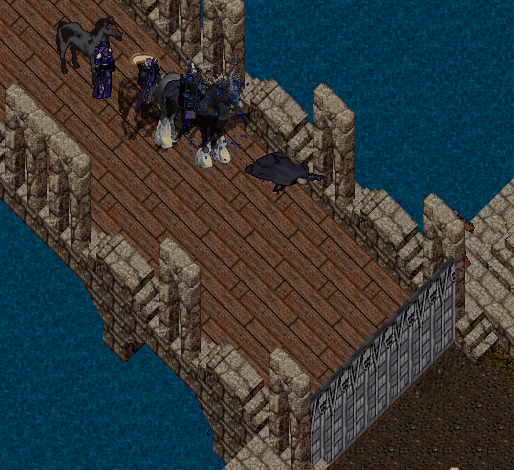
Double-click the Pyroclastic Bomb and target a wall piece to throw the bomb at the wall. After enough bombs have hit the wall, it will start to fall apart and allow access to the bridge. Each wall takes around ~40-50 bombs (or 1 Barrel of Explosives) to destroy. Multiple players can throw bombs at the same wall at the same time. There is a chance for defender mobs to spawn when you approach the walls and when throwing bombs at the walls.
Repeat the process for the second wall on the bridge until it is destroyed:
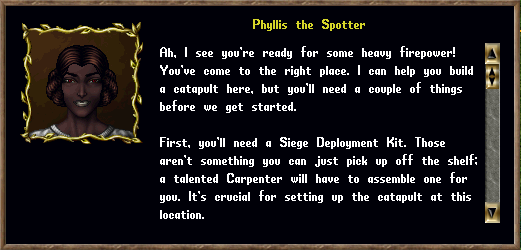
Moving past the second wall will trigger the second stage of Phase 1. A large Siege Camp will be deployed in the dirt area with 8 bays for Catapults.
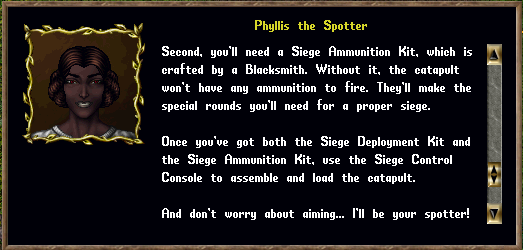
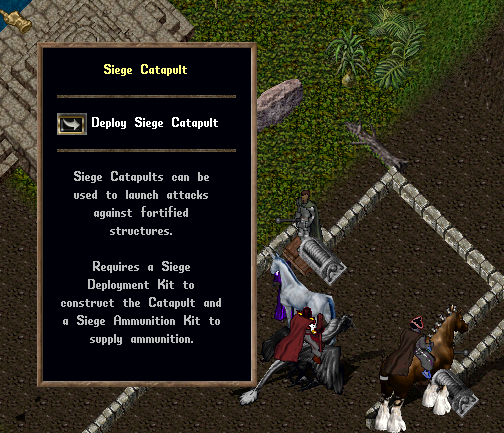
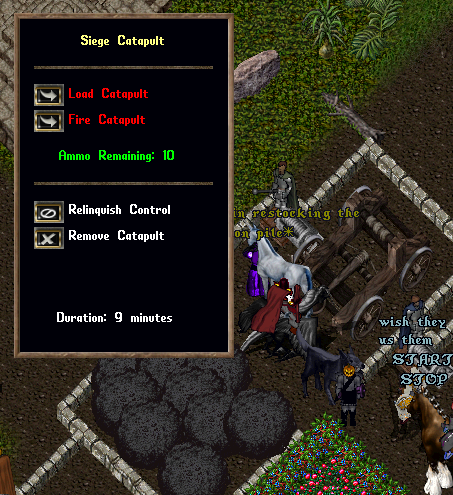
Speaking to a Spotter NPC at one of the bays gives you information on how to setup a Siege Catapult:
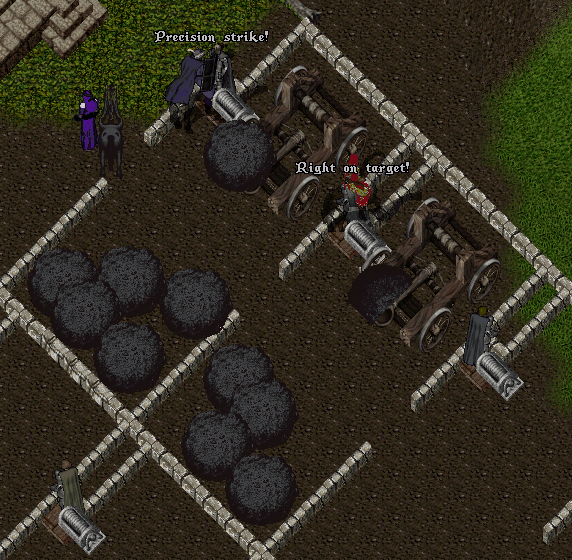
Siege Catapults are needed to break through the large gate blocking entry into Mistas
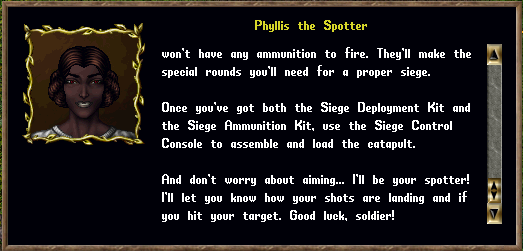
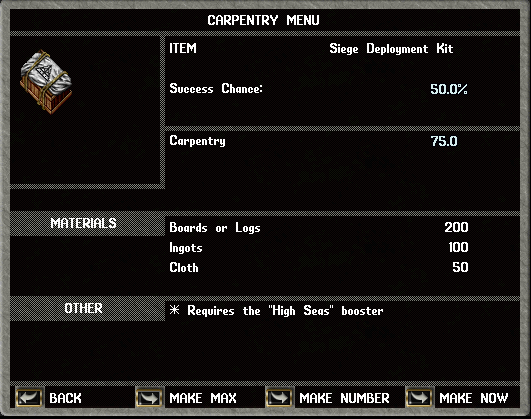
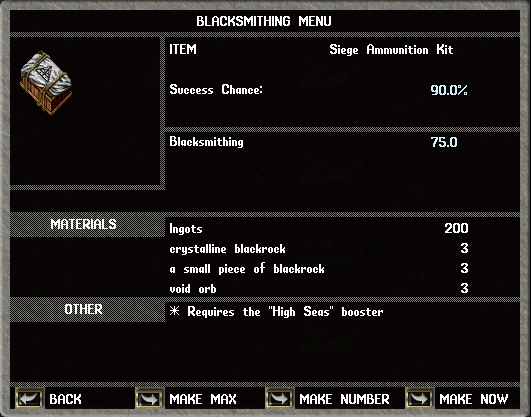
You will need 2 things in order to deploy and operate a Siege Catapult: A Siege Deployment Kit, made by Carpenters A Siege Ammunition Kit, made by Blacksmiths
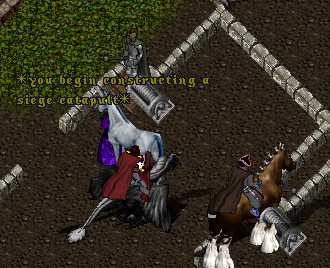
To setup a Siege Catapult, double-click a Siege Control Console in an available siege bay:
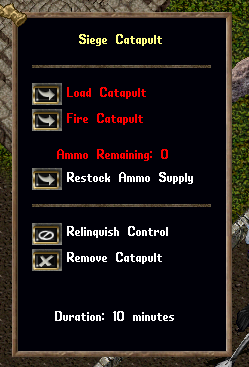
Once deployed, you will have a control menu:
Press the Restock Ammo Button to fill the bay with ammunition
Use the Load Catapult and Fire Catapult buttons to operate the Catapult:
Siege Catapults and Pyroclastic Bombs can be used to damage and destroy the large gate. This gate has a lot of health and takes a fair amount of explosives to destroy. On average, expect to use 8-10 Siege Ammunition Kits to destroy this gate. During this phase, there is a chance for Defenders to spawn when you approach the large gate and when it is struck with explosives.
Once the gate is destroyed, you can enter the city of Mistas. Phase 1 ends once you cross the main bridge into the city.
During Phase 1, you can receive pieces of Rubble from assaulting the city. See the Rewards section below for detailed information.
|
||||||||||||||||||||||||||||||||||||||||||||||||||||||||||||||||||||||||||||||||||||||||||||||||||||||||||||||||||||||||
Event Phase 2~ The Courtyard Assault ~
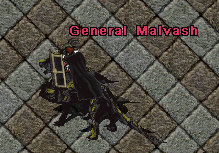
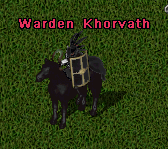
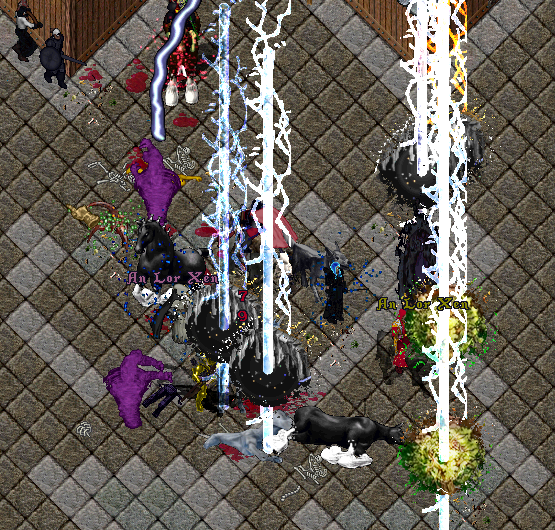
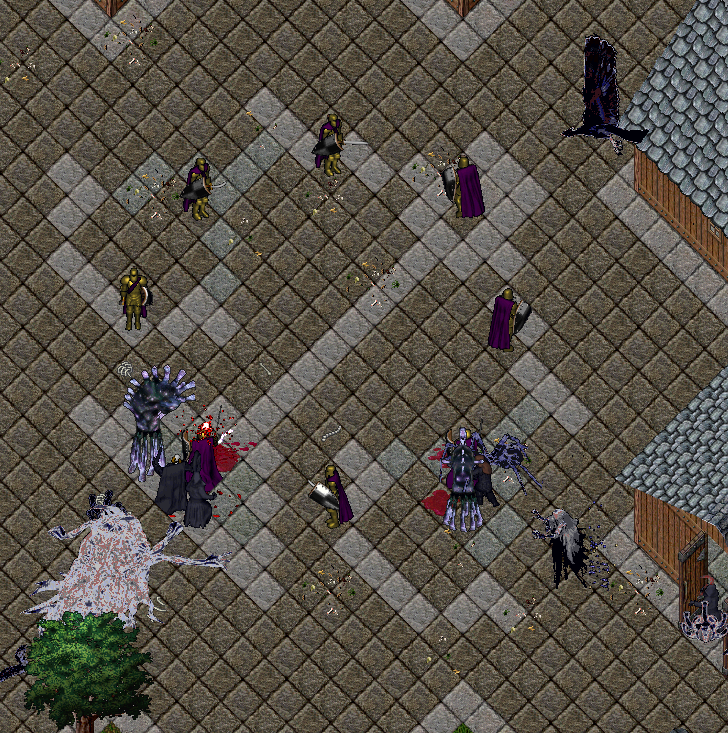
Once you enter the city of Mistas, Shadow Reavers will spawn within the city. Additionally, 9 Void Commanders will spawn throughout the city that must be defeated in order to progress the event. The Void Commanders spawn randomly and about ~3 minutes apart. They will always spawn in the same locations.
Every Void Commander is riding either a Draalwyrm or Shadowmane.
Each Void Commander has a different set of abilities.
All Bosses are immune to Life Leech and Armor Ignore.
Defeating non-boss mobs during this phase can award random pieces of Rubble. Defeating each boss will reward you with a random amount of Artifacts of the Riftborne.
|
||||||||||||||||||||||||||||||||||||||||||||||||||||||||||||||||||||||||||||||||||||||||||||||||||||||||||||||||||||||||
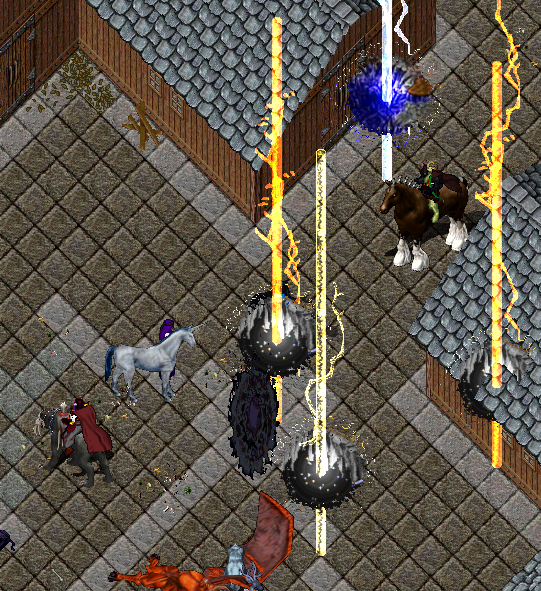
Event Phase 3~ The Champion ~
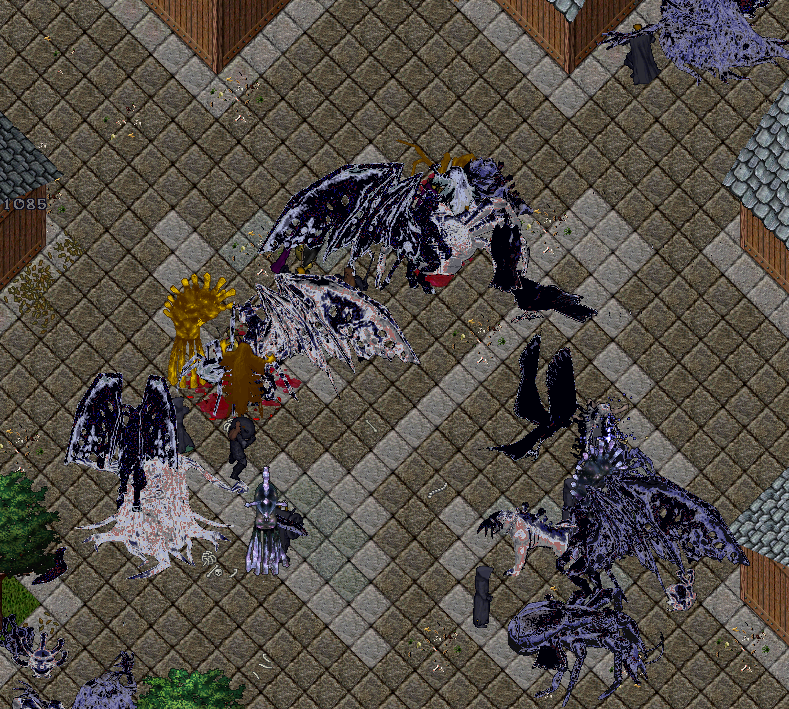
This phase begins when all 9 Void Commanders are defeated. This will trigger a rift to appear in the center courtyard of Mistas.
After about ~2 minutes, the rifts will disappear and 1 of 4 random bosses will appear:
• Riftbreaker Construct • Gnarled Veilkeeper • Riftborn Monstrosity • Ankou the Soul Reaper
Each boss has different abilities.
When killed, bosses drop a Rifted Satchel into the players backpack. This Rifted Satchel has a chance to contain various items (see Rewards section below).
|
||||||||||||||||||||||||||||||||||||||||||||||||||||||||||||||||||||||||||||||||||||||||||||||||||||||||||||||||||||||||
Event Phase 4~ The Depths of Ankh Dungeon ~
When the Phase 3 boss has been defeated, players are able to access the Dungeon beneath Mistas, which is the Ankh Dungeon. All entry points into the dungeon are blocked off except the north passage out of Mistas. You will need to use a single Pyroclastic Bomb on the walls blocking the bridge to open the way.
Travel through the mountain pass and through the Serpentine Dragon lair to reach the entrance of Ankh Dungeon.
Inside the Ankh dungeon is a standard ToT-style event. The dungeon is filled with various types of Void Creatures. Kill these creatures for a chance to receive Artifacts of the Riftborne which can be traded in for rewards. See Treasures of the Riftborne for more information.
This event phase lasts around 4 hours and does not appear to have any end trigger except the timer. You can utilize Potions of Glorious Fortune from the Ultima Store to increase your drop rate of Artifacts in the dungeon.
|
||||||||||||||||||||||||||||||||||||||||||||||||||||||||||||||||||||||||||||||||||||||||||||||||||||||||||||||||||||||||
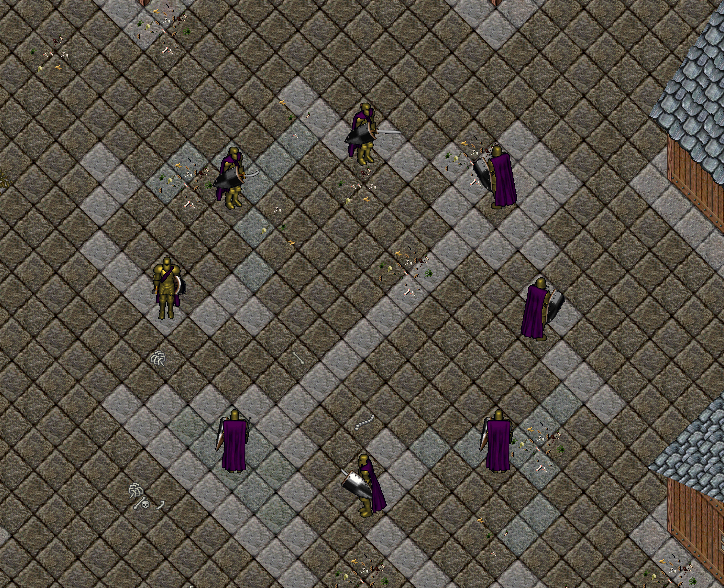
Event Phase 5~ The Defense of Mistas ~
After the Dungeon timer is up, Void Energy will fill the dungeon and begin damaging any player within. You must immediately exit the dungeon, as the damage ramps up over time and will eventually kill you. During this time, the Void forces have rallied and are attempting to take back control of Mistas.
Return to Mistas and defend the blue NPCs that are now spawned in the courtyard to defend the city. This is similar to a Void Pool event, where wave after wave of mobs will assault the city from all sides. The longer this phase goes on, the strong the mobs get.
This phase fails when all of the Defender NPCs have been slain. It is inevitable that this phase will fail, but it is likely possible to push this phase for several hours by dedicated players.
Players will earn Artifacts of the Riftborne from killing mobs during this phase.
|
||||||||||||||||||||||||||||||||||||||||||||||||||||||||||||||||||||||||||||||||||||||||||||||||||||||||||||||||||||||||
Event ResetOnce the forces in phase 5 overcome the defenders and retake the city, The Event will then begin its reset period, which lasts for 30 minutes. Once this 30 minute period has expired, the event continued with Phase 1 again.
|
||||||||||||||||||||||||||||||||||||||||||||||||||||||||||||||||||||||||||||||||||||||||||||||||||||||||||||||||||||||||
Event Rewards
Below are the rewards you can earn from the various phases of the event. This does not include the items available on the Artifact Trader for the Treasures of the Riftborne component. See our Treasures of the Riftborne article for information on the vendor rewards.
|
||||||||||||||||||||||||||||||||||||||||||||||||||||||||||||||||||||||||||||||||||||||||||||||||||||||||||||||||||||||||
|
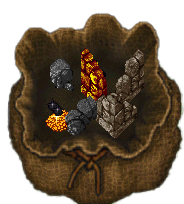
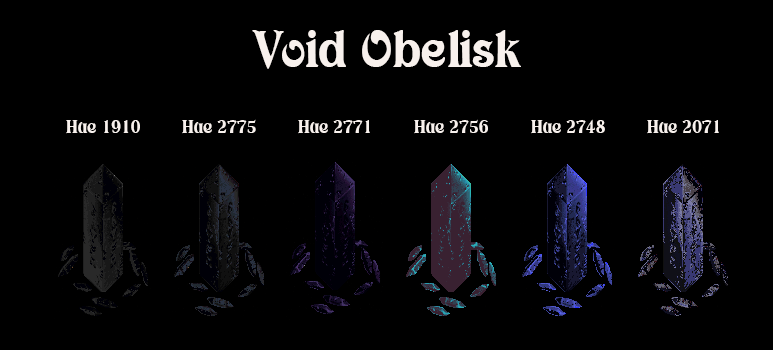
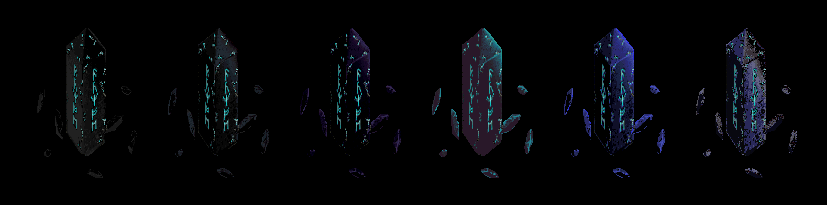
~ Rubble ~Rubble is rewarded as a participation drop from Phase 1 & Phase 2 Rubble can be in the Rifted Satchel awarded for defeating The Champion in Phase 3 Rubble can also be found in Hidden Chests.
They come in a variety of styles, colors, and names.
|
||||||||||||||||||||||||||||||||||||||||||||||||||||||||||||||||||||||||||||||||||||||||||||||||||||||||||||||||||||||||
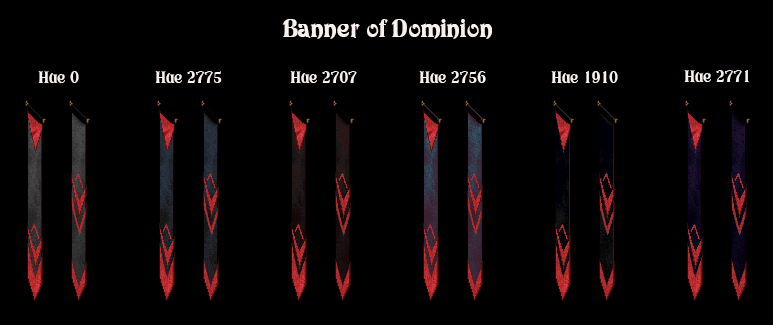
~ Void Cube ~Void Cubes are rare rewards you can earn anytime Rubble is awarded. When locked down in house, you can use a House Deco tool on them to change their shape.
|
||||||||||||||||||||||||||||||||||||||||||||||||||||||||||||||||||||||||||||||||||||||||||||||||||||||||||||||||||||||||
~ Champion Boss Rewards ~If you get looting rights on the boss, you are guaranteed to receive a special reward. This reward is a Rifted Satchel and contains the following: One Stack of Crafting Reagents (one of the below): 5x Crystalline Blackrock
And one of the following rewards:
|
||||||||||||||||||||||||||||||||||||||||||||||||||||||||||||||||||||||||||||||||||||||||||||||||||||||||||||||||||||||||


Special thanks to Lukas, Hikaru, Red Snapper and all the other members of the UO-CAH discord that helped us create this article or were featured in screen shots.